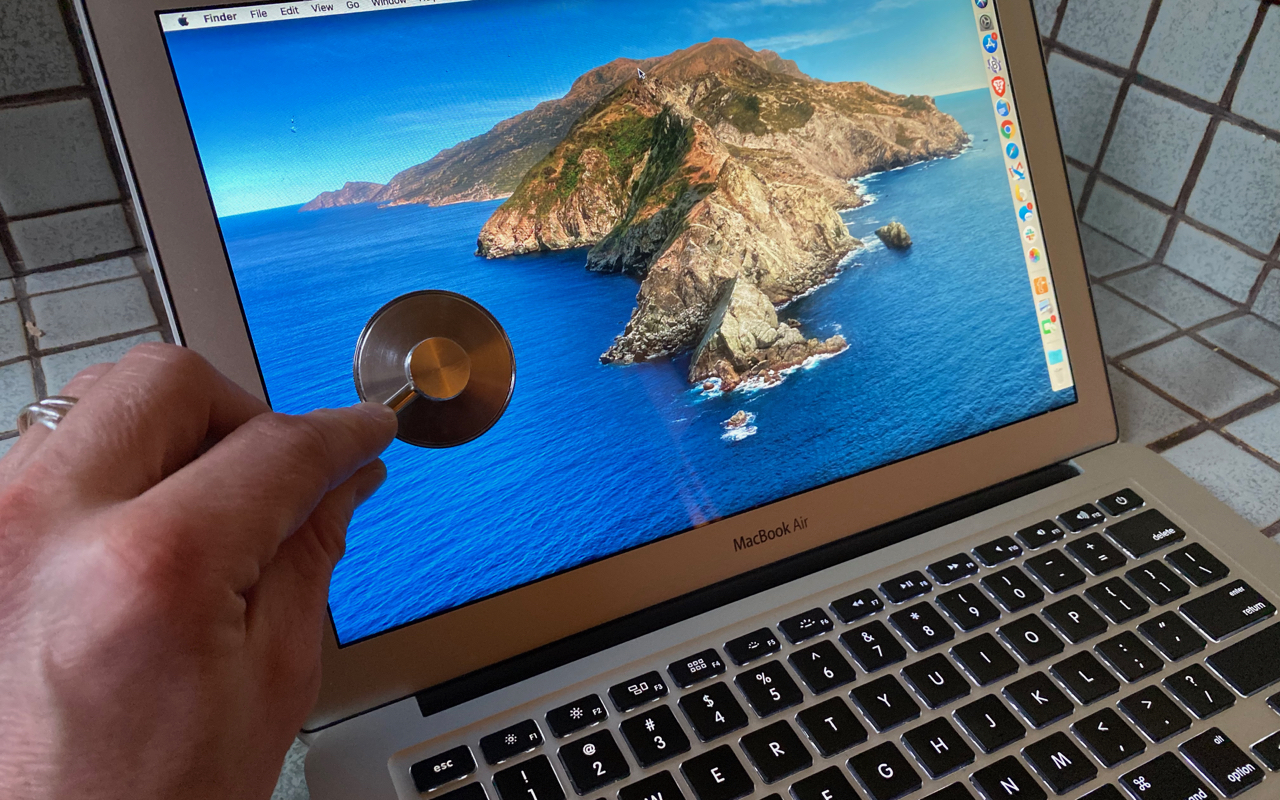
If your Mac is acting up and you suspect a hardware problem, there’s an easy first step that you can—and should—try before calling for tech support: Apple Diagnostics. (On Mac models released before June 2013, Apple instead included a similar set of diagnostics called Apple Hardware Test.)
Apple Diagnostics is a set of hardware test routines that Apple bakes into every Mac. It tests numerous internal subsystems in your Mac, including the CPU, memory, and firmware; displays and graphics adapters; connectivity via USB, Bluetooth, Wi-Fi, and Thunderbolt; batteries and power adapters on laptops; and more.
Before you run Apple Diagnostics, prepare your Mac with these steps:
- If you have a firmware password enabled, turn it off before proceeding.
- If possible, pick a situation when the Mac is most likely to experience the problem (such as right after turning it on for the day, or when it’s unusually warm).
- Disconnect all external devices with the following exceptions: the keyboard and mouse or trackpad, display, Ethernet cable if you use it, and power adapter for laptops.
- If you’re testing a laptop, make sure it’s on a flat, well-ventilated surface.
- Shut down your Mac.
Once you’re ready, turn your Mac on while holding down the D key. (If that doesn’t invoke Apple Diagnostics, try again, holding down Option-D to attempt to start Apple Diagnostics over the Internet.) Keep holding down until you see a screen asking you to choose your language. Once you’ve done that, you’ll see a bar showing the progress of the diagnostic tests, which should take only a few minutes.

What to do if Apple Diagnostics reports an issue
If Apple Diagnostics finds any issues, it suggests solutions and provides reference codes. Write the reference codes down so you can share them with tech support later, if necessary. Apple publishes a full list of reference codes, but the list generally doesn’t tell you much beyond what the Apple Diagnostics report explains.

After you’ve read about the issues and solutions, you have four options.
- For a second opinion, click the “Run the test again” link. It’s not a bad idea to make sure that multiple tests come up with the same results. If they don’t, that’s useful information for tech support too.
- To get more information, including details about service and support options from Apple, click the “Get started” link. Doing so causes your Mac to start up in macOS Recovery, open Safari, and display a Web page for Apple Support. It asks for your location along with permission to read your Mac’s serial number and reference codes before providing additional details. If your Mac can’t access the Internet at this time, none of this will work.
- To restart your Mac normally, click the Restart button.
- To shut your Mac down normally, click the Shut Down button.
With a few exceptions, most problems identified by Apple Diagnostics require service from an Apple Authorized Service Provider or Apple itself.
- If you get a note about USB or Thunderbolt hardware, make sure you’ve disconnected any devices other than the keyboard and pointing device and test again. If you have another wired keyboard or pointing device, swap those in and test again.
- If Apple Diagnostics complains about your laptop’s power adapter, disconnect it from both the wall and the computer, reconnect it to both, and rerun the test.
- One of the battery errors (PPT004) may require updated diagnostic information. To confirm the problem, run Apple Diagnostics over the Internet: shut down the Mac and start it up again while holding Option-D.
What to do if Apple Diagnostics doesn’t find any problems
With any luck, you’ll see the coveted “No issues found” message. While that doesn’t mean you’re imagining any problems, it does suggest that they’re probably related to software and won’t require a hardware repair. However, some infuriating problems are intermittent due to solder connections being warm or cold, which is why it’s important to test when they’re most likely to occur.
One final note: If you want to see the results of the last run of Apple Diagnostics, open the System Information app and click Diagnostics under the Hardware section.
(Featured image by Adam Engst)


